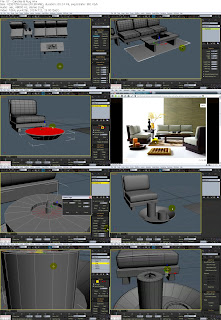
Part 1: In this new exclusive Citizen tutorial, we’ll start talking about the “Anatomy of Disaster movie vfx” tutorial series. In Part 1, we’ll take a look at the entire project, and start looking at all the phases we have to accomplish, we’ll talk about the project planning, pipeline and shot management. We’ll analyze how to approach to a complex shot and how a production will be splitted in different sub-processes as pre visualization, modeling, lighting, rendering, fx, compositing etc. At the end we’ll introduce Part 2 talking about data structure management to understand how we have to store all the informations, projects, scenes etc useful to finish our disaster shot. Part 2: In the 2nd part of Citizen Disaster series we’ll start working at basic production phases. We have to prepare a simple storyboard for the 1st shot, where the earthquake will break the asphalt and will move the manhole. We’ll start preparing the storyboard using a 2D painting software, showing a rough idea of the shot phase and a written description.Then we’ll prepare a text document writing the worksheet with all the informations we need to start working at the shot : things to do, software informations, work phases etc. Then we’ll start working in 3ds max creating the environment set using basic polymodeling tools, and primitives. The shaders and materials will be prepared using standard materials and basic procedurals or bitmaps. The animation we’ll be prepared on the camera and the objects. The camera shaking will be done using a noise controller controlled using keyframes by hand and the Graph editor. Last part will be the breaking visualization, done using polymodeling to create the breaking area and the boolean modifiers. Using the morph modifier we’ll create the breaking simulation with a good quality for animatic purposes. Part 3: In this new video, (Disaster Movie Part 3), we’ll start working on the final 3D scene to create the “Manhole” shot. In past video we worked at the animatic stuffs to understand what we have to do to obtain final animation. We’ll create the road and the manhole meshes using standard polymodeling tools and Graphite modeling tools. Then we’ll work on the illumination setup using a Daylight system with MR Sky and MR Sun to render it in Mental Ray. Using Slate Material Editor, we’ll create all the materials we need. The road/asphalt shader will be created using the Arch&Design material and some Substances coming from the Advantage Pack, if the user is working in 2010 or standard 2011 release, he can use a standard aphalt bitmap. Then we’ll create the manhole metal surface shaders using some bitmaps and procedural maps to create a rusty look.


